
How to Pose for a Professional Headshot When You Don't Pose for a Living
- Austen Hunter

- Mar 1
- 9 min read
Most people don't pose for a living. Then a headshot session lands on the calendar, and suddenly there's a camera, a backdrop, a photographer, and a question with no obvious answer: what do I do with my body?
This is the question I get most often before a session. The good news is that posing for a professional headshot isn't about looking like a model — it's about looking like a clearer, more present version of yourself. The right pose makes you look like you, on a good day, paying attention.
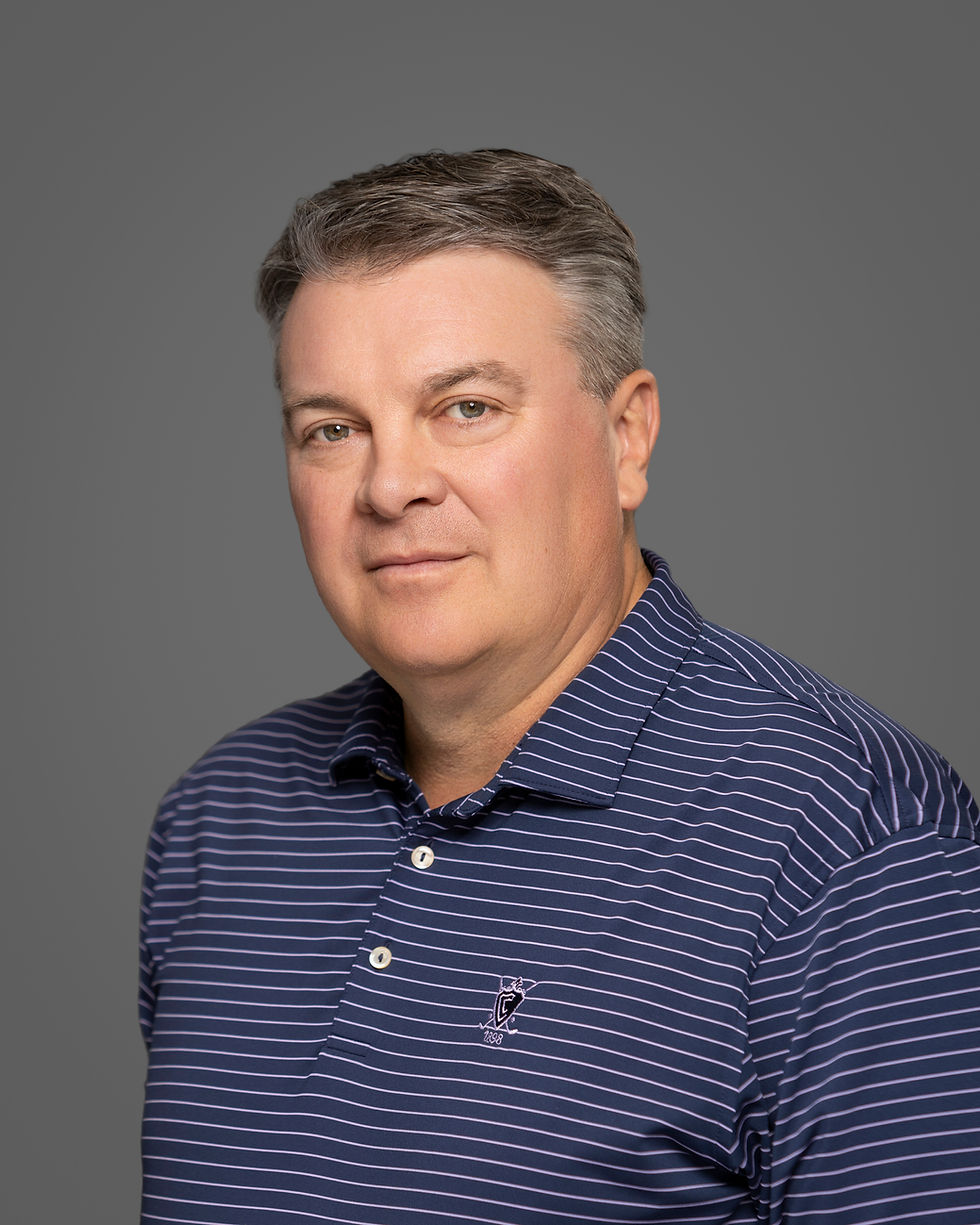
My name is Austen Hunter. I'm a retired Air Force officer, a Navy Public Affairs Specialist, and the 2024 Navy Civilian Photographer of the Year. At Austen Hunter Photography, I've shot headshots for executives, doctors, realtors, actors, and conference floors full of strangers across Pensacola, Northwest Florida, and the Gulf Coast. The posing fundamentals below are what I use to make every one of them look better than they expected.
Key Takeaways
|
What is the Right Pose for a Professional Headshot?
The right pose is the one that lets your jawline read clearly, keeps your shoulders relaxed but not slumped, places your eyes confidently on the camera, and produces an expression that looks like you're paying attention. There's no single "best" pose — different jaw shapes, neck lengths, and body proportions call for slightly different angles. A good photographer adjusts pose for the person in front of them. The fundamentals below apply to almost everyone.

Why Headshot Posing Matters more than People Think
A 2006 Princeton study published in Psychological Science found that people form first impressions of a face — judgments of trustworthiness, competence, and likeability — after just 100 milliseconds of exposure. Longer viewing time strengthened those impressions but rarely changed their direction. For a headshot, the practical implication is direct: the pose has to read cleanly at a glance, because that's the only glance most people will give it. A LinkedIn scroll, a hiring manager's first scan, a client's first look at your About page — all happen in milliseconds.
Posing isn't about vanity. It's about making sure the impression a stranger forms in a tenth of a second is the impression you want them to leave with.
The Chin and Jawline
"Almost every fix in a headshot starts with the chin. Lower it slightly. Push it forward and slightly down. The double chin most people fear in photos disappears, and the jawline reads clean." — Austen Hunter
The single most consistent fix I make in headshot sessions is repositioning the chin. Most people, when they sit for a portrait, instinctively pull the chin back toward the neck — and the camera catches a softer jaw, a longer neck, and an expression that reads slightly defensive.
The fix is counterintuitive: push the chin forward, then drop it down a fraction of an inch. The jaw lengthens. The neck looks proportional. The face reads more confident. It feels strange while you're doing it. It looks correct in the photograph.
A few specific situations:
If you have a strong jawline — let the chin drop slightly more than feels natural. The camera flattens features; you can afford the angle.
If you have a softer jaw — push the chin further forward (not down) and let the photographer raise the lighting slightly to define the line. This is where studio lighting earns its keep.
If you're tall and being photographed from below — you'll want the chin even further forward to compensate for the upward camera angle. Otherwise the camera reads "looking down on the viewer," which most people don't want from a portrait.
If you're shorter and being photographed from above — the natural instinct is to lift the chin to "meet" the camera. Resist it. Keep the chin neutral; the photographer should adjust their height instead.
Shoulders, Posture, and the Angle of the Body
A square-to-the-camera pose works for some clients — usually executives, military portraits, or anyone whose role calls for a "standing at attention" read. For most professional headshots, a slight body angle reads better. About 15 to 30 degrees off-camera with the head turned back toward the lens lets the body have shape without the shoulders dominating the frame.
The exact angle depends on body type:
For broader builds — angle further off-camera (closer to 30°) and turn only the head and eyes back to the lens. The shoulders narrow visually and the silhouette reads more dynamic.
For narrower builds — a smaller angle (15–20°) keeps the body from disappearing. Going too far off-camera in a tight headshot can make the shoulders look pinched.
For women — a slight S-curve through the spine (weight on one leg, hip slightly back) photographs more naturally than a stiff vertical posture.
For men — a strong, grounded stance with weight evenly distributed and the back shoulder dropped slightly behind the front shoulder reads as confident without becoming "model pose."
Shoulders should be relaxed and slightly lower than they want to be. Most people, under camera pressure, raise their shoulders toward their ears without realizing it. A photographer who notices this will say "drop your shoulders" twice in a session. It's the second cue most clients need.
If your shoulders round forward naturally (most desk workers), the fix isn't to throw them back like a soldier — that reads stiff. Instead: imagine pulling your shoulder blades down and slightly together, like you're tucking them into your back pockets. The chest opens without the shoulders flaring up.
Posing for Headshots with Hands and Arms
For a tight headshot — head and shoulders only — hands stay out of the frame entirely. For a three-quarter crop where hands enter the picture, give them a clear job. The four reliable options:
One hand in a pocket, thumb out. Universally flattering. Anchors the arm without locking it. Works for both standing and seated.
Both hands clasped at waist height. Calm, professional, low-risk. Best when the arms read as relaxed rather than stiff — let the wrists be loose, not locked.
Folded arms. Confident, grounded. Watch out for the trap of holding it too tight, which reads defensive. Loose folded arms with a slight gap between the body and the arms is the goal.
Holding something — a coffee, a notebook, a piece of equipment. Works for personal-branding shots where the prop tells part of the story. Don't force this if the prop doesn't belong.


Things to specifically avoid: hands flat against the legs (looks like attention pose), arms hanging straight down with no shape (reads tentative), or one hand doing something while the other floats unused at the side. Idle hands hovering at the edge of the frame look like idle hands hovering at the edge of the frame.
If you wear a watch or a wedding ring, decide before the session whether they're in or out of the shot — and if in, make sure they're positioned to be visible without being the focal point. Rings that catch a flash and become bright spots in the photo are a common but fixable problem.
Eyes and Expression - The Key to your Headshot Pose
Eyes do most of the work in a portrait. The goal is soft and attentive, not wide and surprised. A real expression — even a small one — beats a forced smile every time.
A few specific techniques that work:
Breathe out before the shot. Held breath shows in the eyes (a slight wideness, a slight tension). Photographers often say "deep breath in, slow breath out" right before the shutter for exactly this reason.
Focus on a specific point behind the camera — a corner of the room, a small mark on the wall — rather than looking into the lens itself. Eyes that are focused read engaged. Eyes that are searching read glassy.
Think about a person you actually like, not "looking professional." The expression that follows photographs better than anything you can construct from scratch. Forced "executive face" reads as forced executive face.
For the smile: start from a neutral mouth and let the smile come up gradually. Hold it for a beat. Then let it go and reset. The camera will catch the genuine in-between moments where the smile is forming or relaxing — those usually look more authentic than the held peak.
If you blink a lot: close your eyes briefly between shots, then open them on a count. The first half-second of an open-eye reset is usually your best frame.
Standing vs. Seated Headshot Poses
The mechanics shift between the two:
Standing: weight on the back leg, front foot turned slightly toward the camera, hips angled, chest up but not pushed out. The standing pose makes the body part of the photo, so the angle and weight distribution matter more.
Seated: lean forward slightly from the hips, not from the back. Sitting up straight against a chair back makes the upper body look stiff; a forward lean reads engaged. Hands rest on the lap, on the desk, or one hand can drape on a chair arm.
For most desk-based professional headshots, I default to standing. The body has more shape, the energy reads higher, and the photo tends to age better. Seated portraits work for portrait-style commissions and "in your office" environmental shots where the desk is part of the story.


Common Headshot Posing Mistakes — and what to do instead
Common mistake | Why it doesn't work | What to do instead |
Square shoulders to camera | Reads stiff, makes shoulders dominate | Angle 15–30° off camera, head back to lens |
Chin pulled back | Softens jaw, lengthens neck, reads defensive | Push chin forward and slightly down |
Forced full smile | Looks held, eyes go small | Soft half-smile or relaxed mouth, smile with the eyes |
Hands floating in frame | Reads tentative, distracts from face | Out of frame for tight crop, or give them a clear job |
Looking into the lens | Eyes can read glassy or distant | Focus on a specific point just past the lens |
Shoulders thrown back like a soldier | Reads stiff, often raises shoulders toward ears | Pull shoulder blades down and slightly together — open the chest, don't lift |
Holding the smile too long | Eyes tighten, the expression locks | Reset between shots — let the smile come and go |
What a Good Headshot Photographer should be Doing
If you walk into a headshot session and the photographer hands you a posing chart and starts shooting, you're doing all the work. The photographer's job is to direct you in real time — telling you when to drop your shoulders, lower your chin, soften your eyes, breathe out before the shutter. They're watching for the moments where the body relaxes into a real expression and capturing those.
"If a photographer hands you a posing chart and starts shooting, you're paying them to give you homework. The real work happens in the directing — the small adjustments in the moment." — Austen Hunter
That's how you get a portrait that looks like you on a good day instead of you trying to follow instructions. For more on prep before the session, see my guides on hair and makeup tips for headshots and, once you've got the photo you want, where to put your new professional headshot.

Final Thoughts
A professional headshot isn't a modeling shoot. It's a controlled portrait of you, paying attention. Get the basics right — chin forward and slightly down, shoulders dropped, body angled slightly off-camera, eyes soft — and let the photographer do the in-the-moment work of catching the version of you that looks like the version a stranger should meet first.
Frequently Asked Questions
How do I pose for a professional headshot if I've never had one done?
Don't try to "pose" in the modeling sense. Stand or sit relaxed, angle your body 15 to 30 degrees off-camera, drop your shoulders, push your chin forward and slightly down, and look toward the camera with a real expression. A professional headshot photographer will direct the rest in real time. Showing up loose and willing to take direction matters more than knowing poses in advance.
What should I do with my hands in a professional headshot?
For a tight headshot, hands stay out of the frame. For a three-quarter or full-body crop, give them a job: one hand in a pocket with thumb out, both hands clasped at waist level, or arms folded loosely. Avoid letting hands hover idly at the edge of the frame.
Why does my chin look weird in headshot photos?
Almost certainly because you're pulling your chin back toward your neck without realizing it. Push the chin forward and tip it slightly down — counterintuitive but reliable. The jawline sharpens, the neck looks proportional, and the face reads more confident.
Should I smile in a professional headshot?
A real expression beats a forced smile every time. A soft half-smile, a relaxed mouth, or a smile that engages your eyes will all photograph better than a held full smile. Forced smiles photograph as forced smiles.


